How to Generate a Custom Invoice?
The custom invoice feature allows users to create invoices for any customer, whether they have an active contract or not.
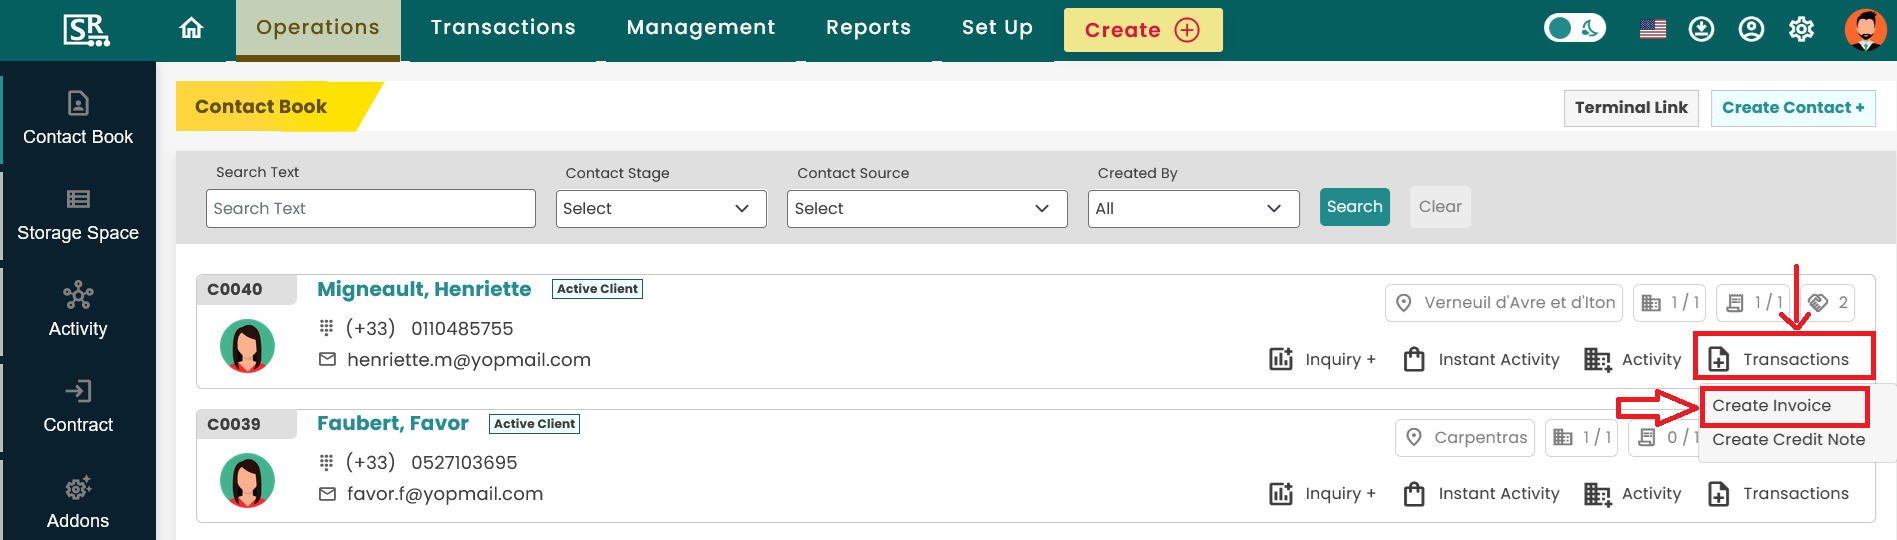
Method 1: From Contact Listing or Specific Contact Detail Page:
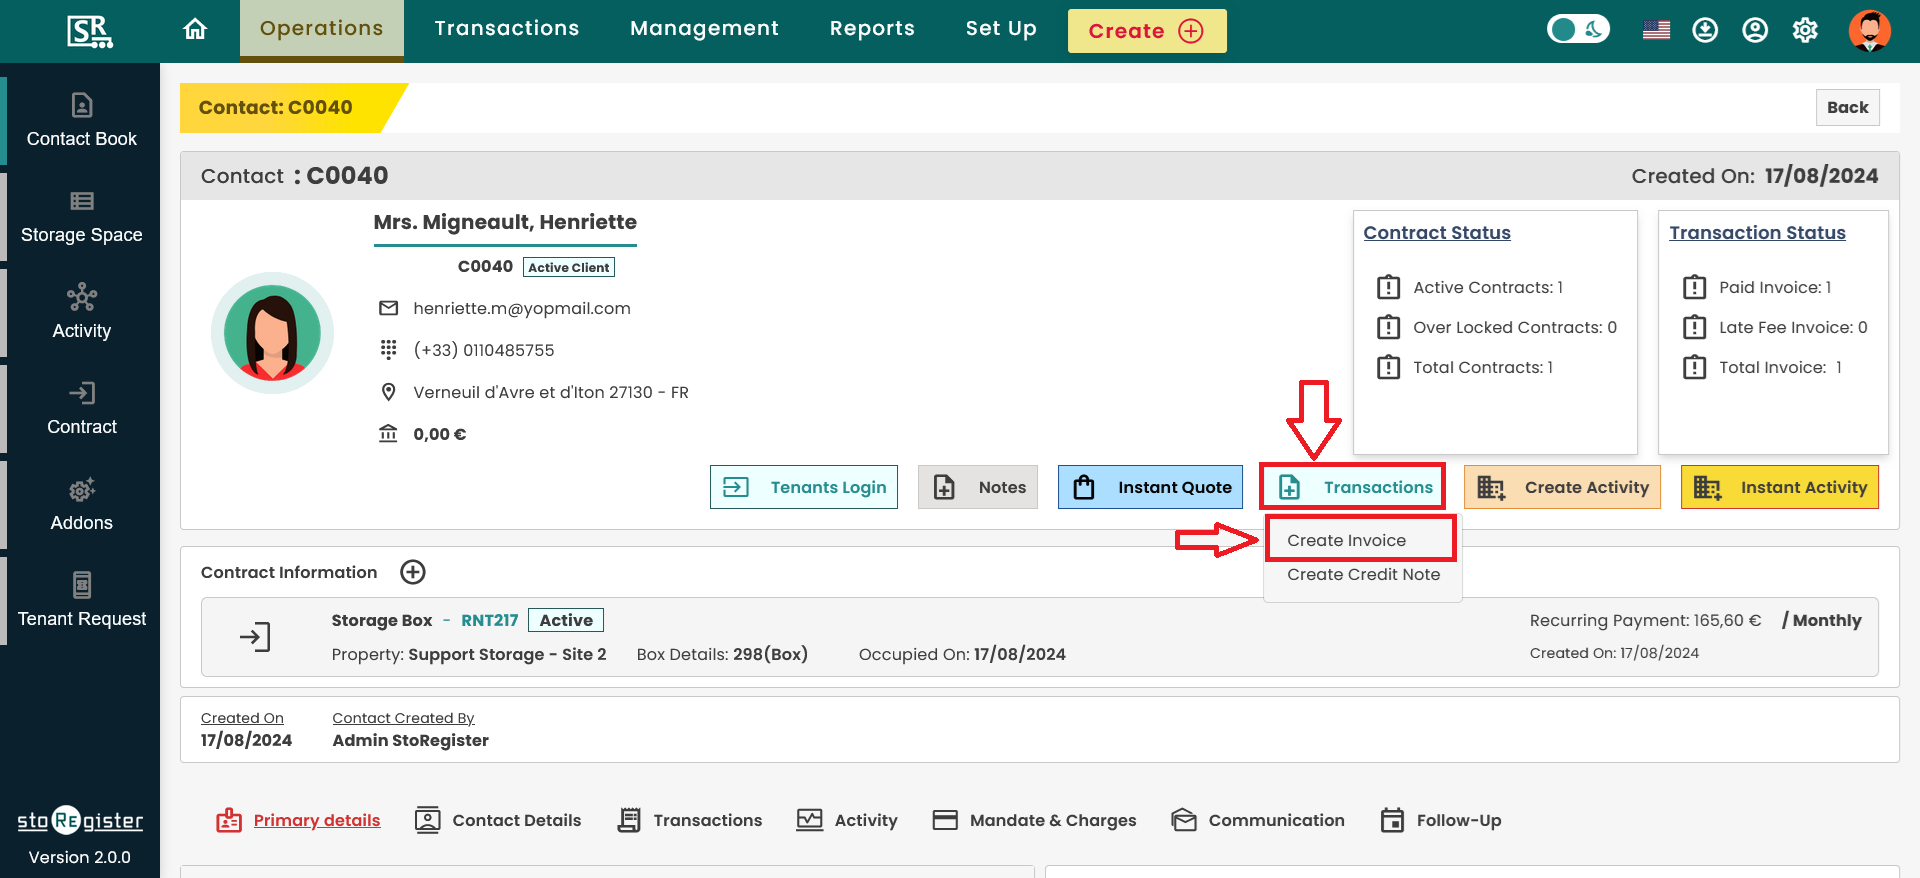
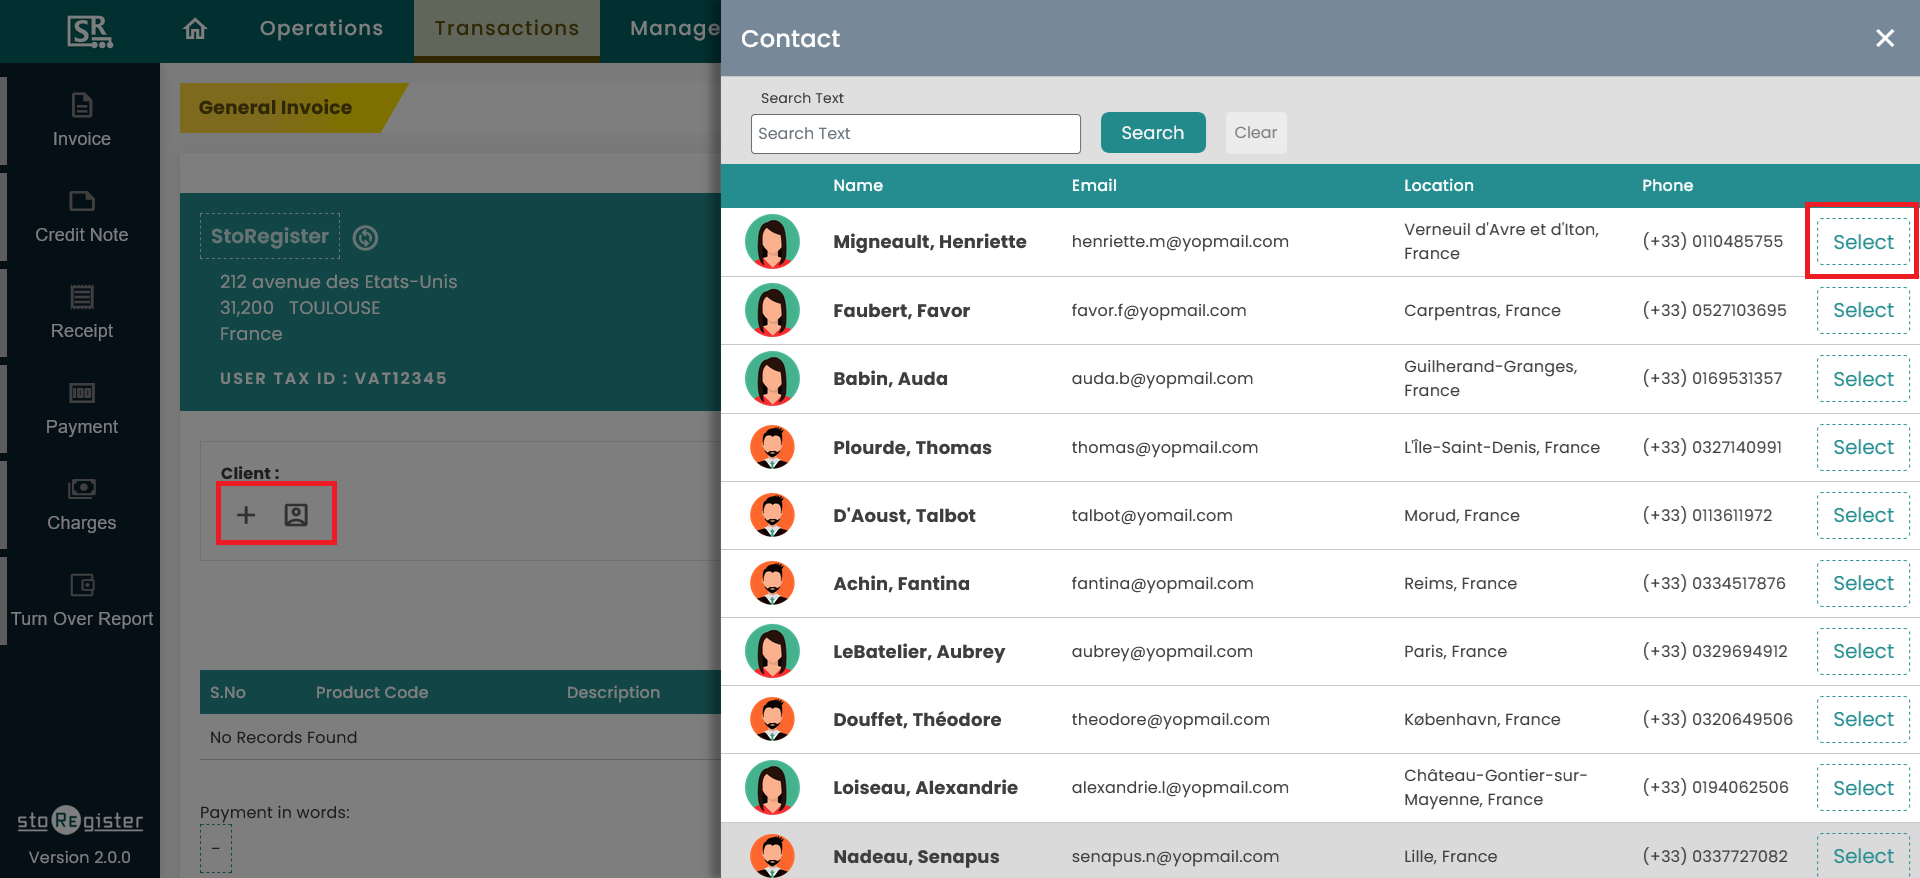
- Navigate to Contact Listing or Specific Contact Detail Page: Access the contact listing page or go directly to a specific contact's detail page.
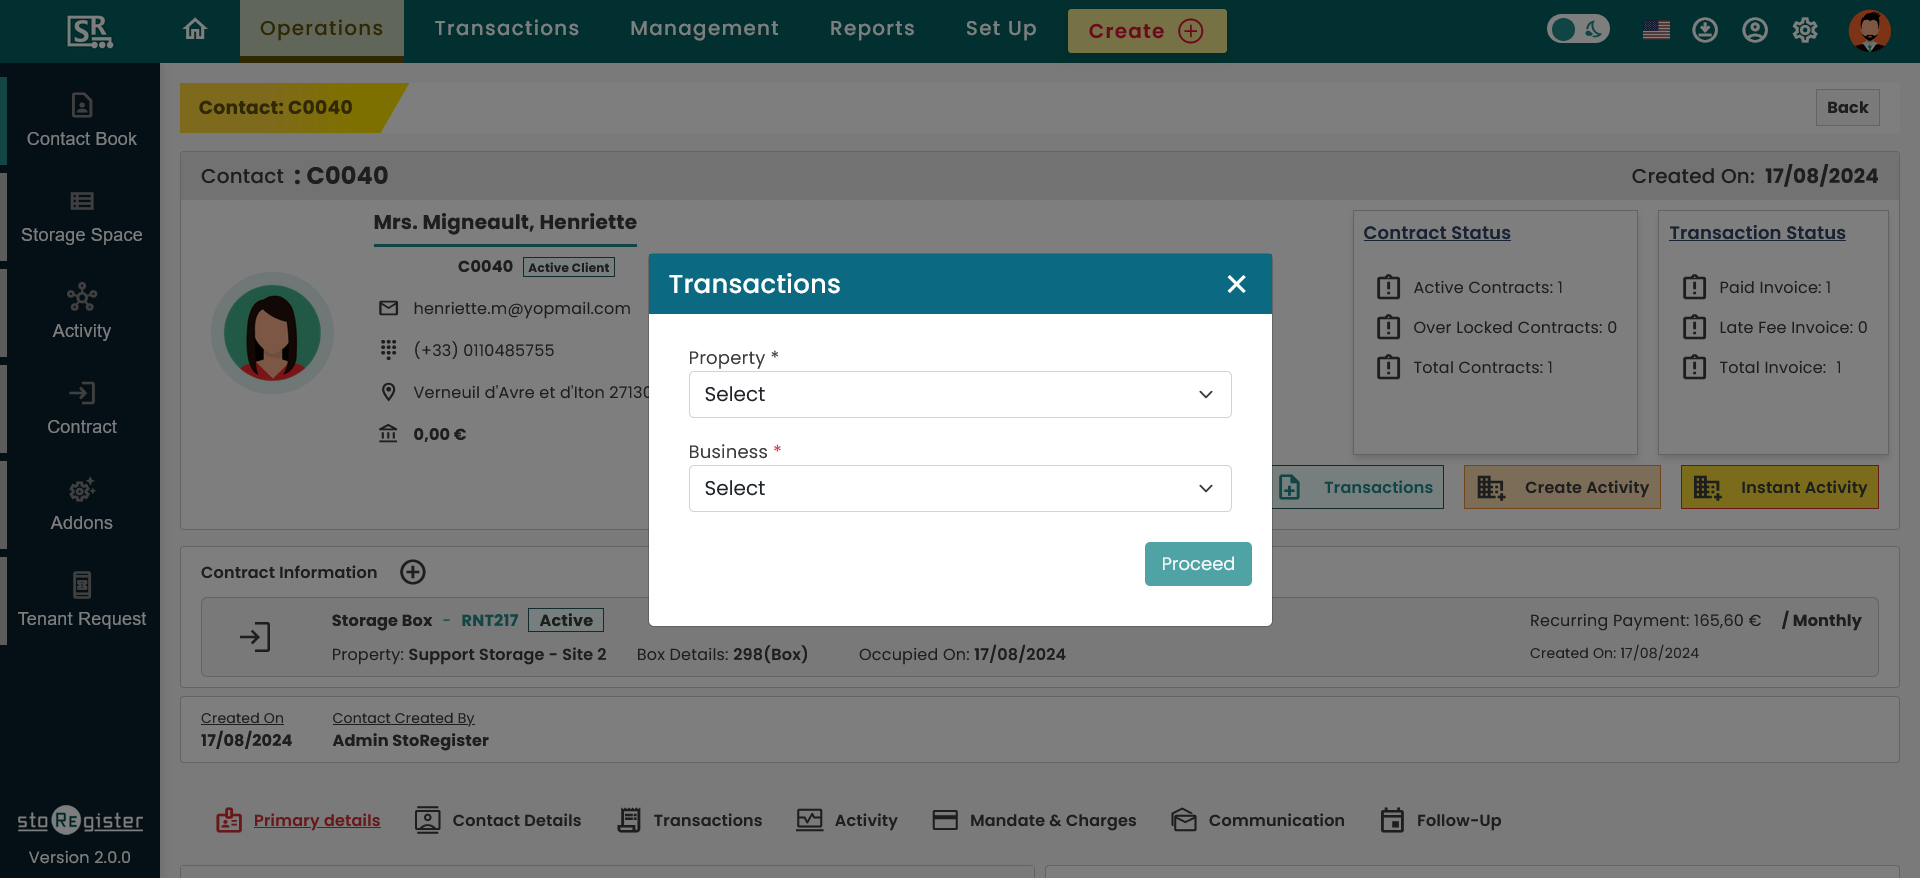
- Select Property and Business: A pop-up window will open prompting you to select the relevant property and business. After selection, you will be redirected to the custom invoice page.
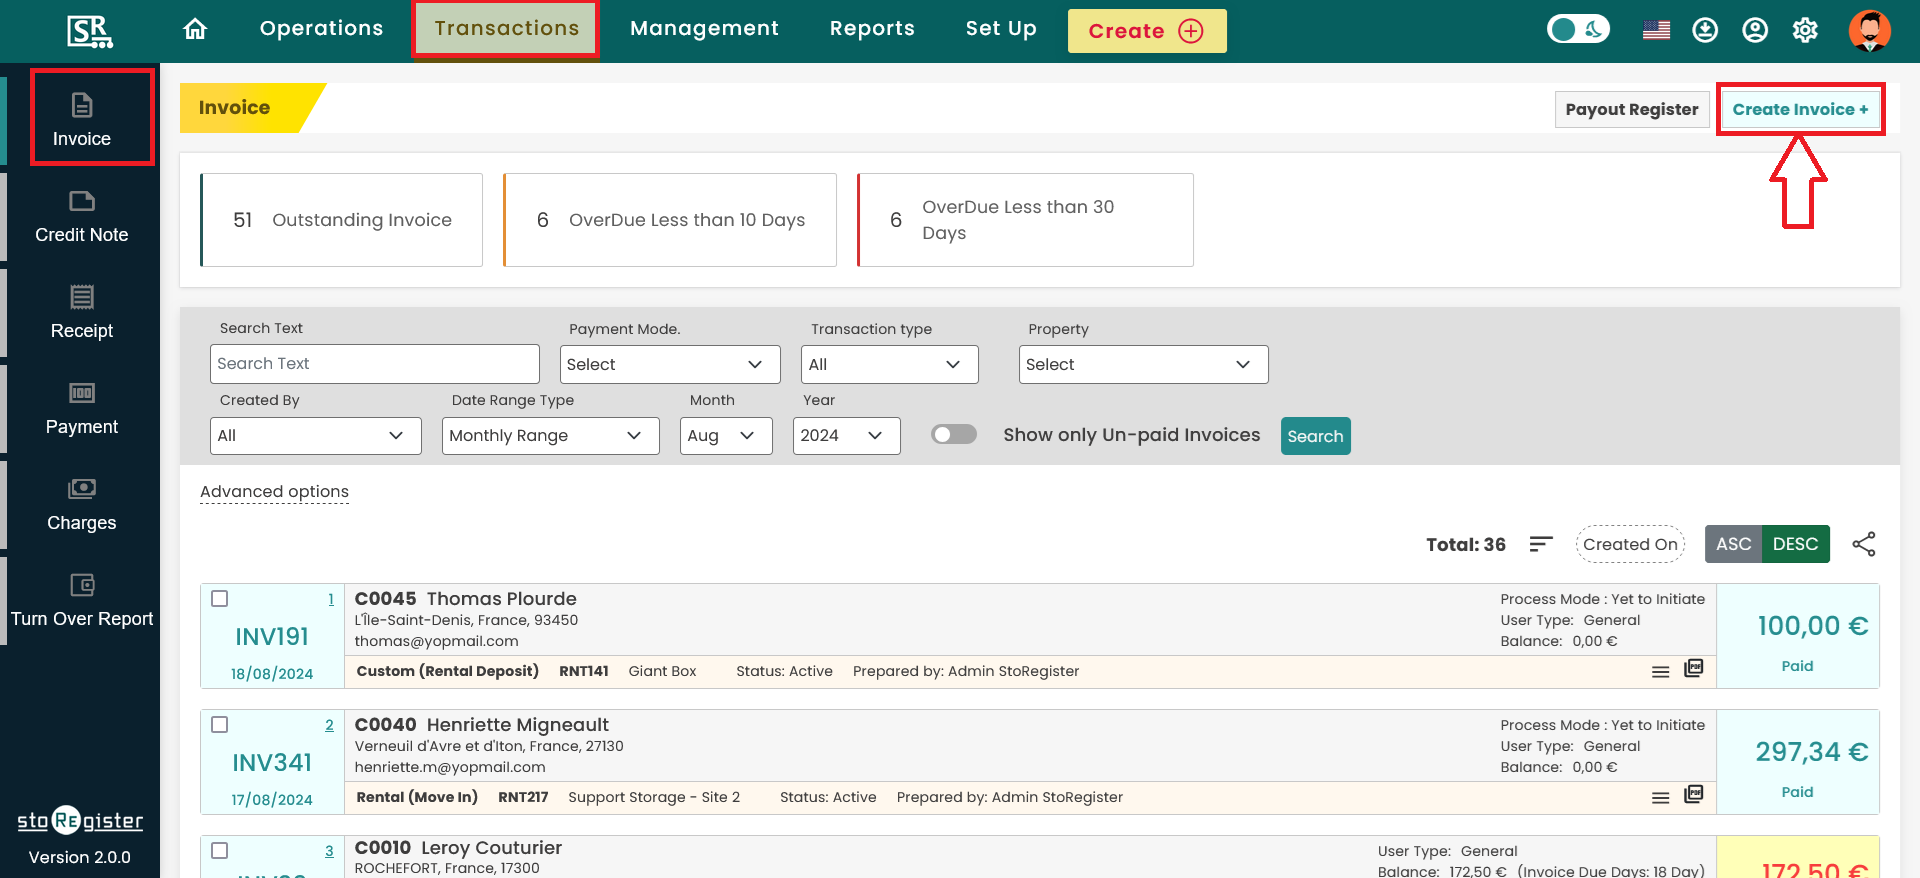
Method 2: From Transaction Section:
- Navigate to Transaction Section: Go to the "Transaction" section of the platform.
- Select Custom Invoice: Find and click on "Custom Invoice," which will redirect you to the custom invoice creation page.
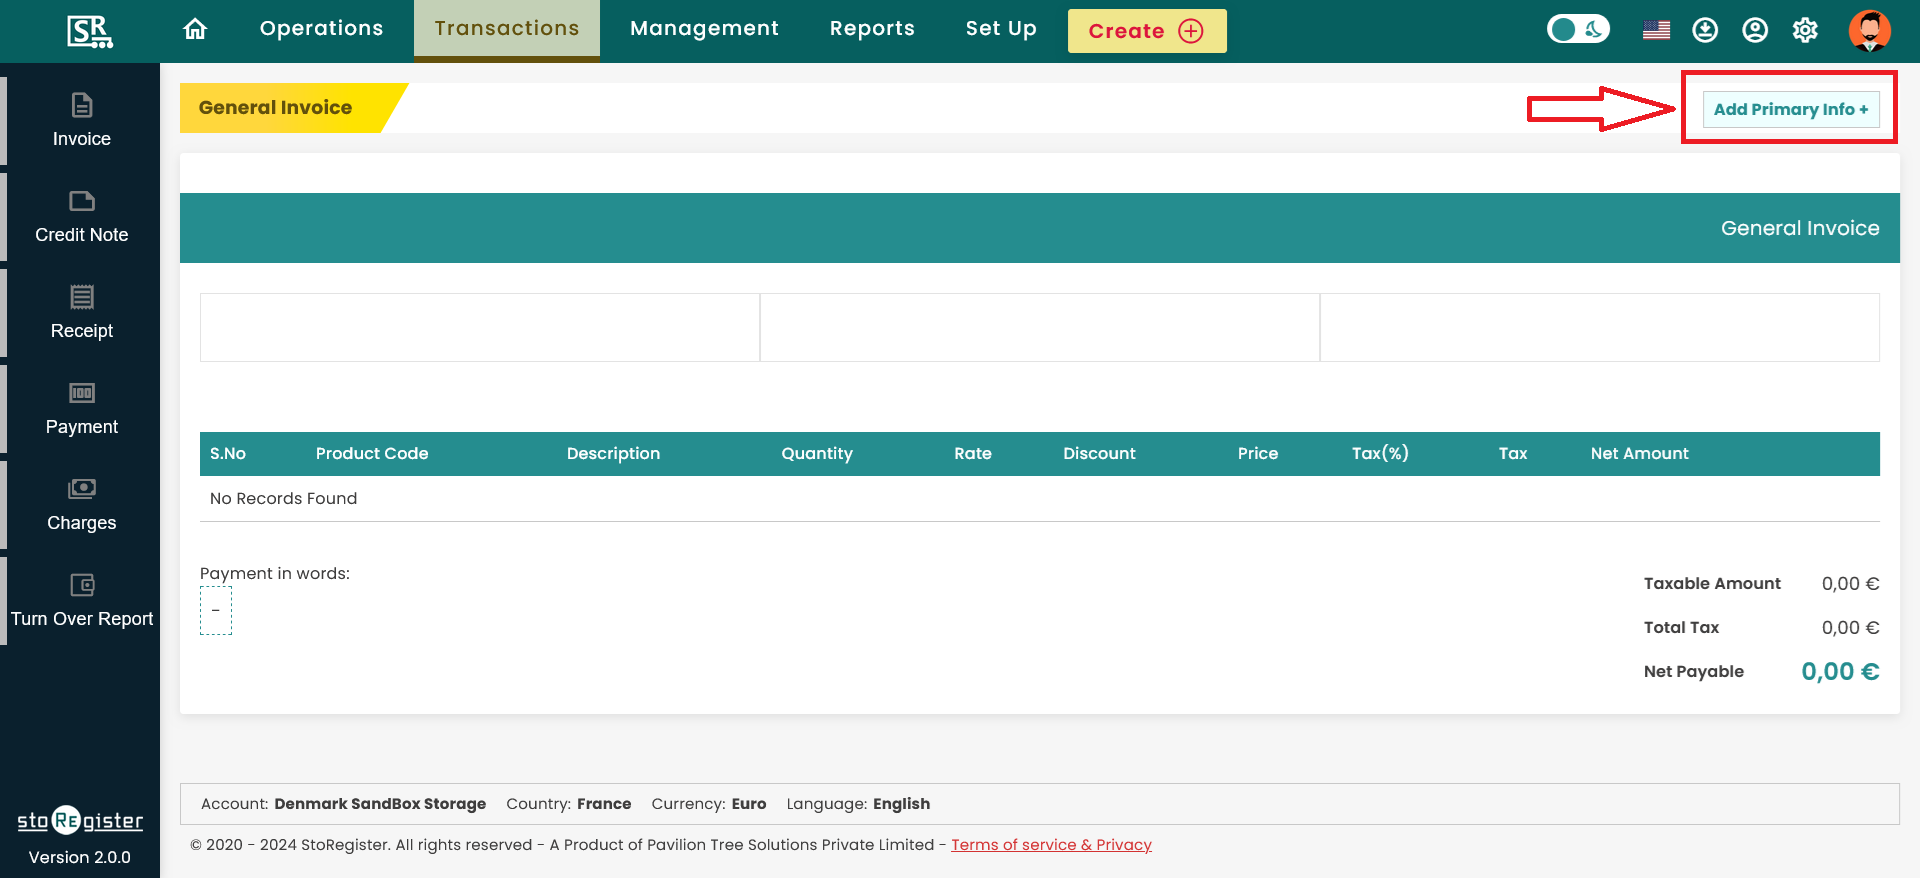
- Select Property, Business, and Contact: On the custom invoice page, select the property, business, and the specific contact for whom the invoice is being generated.
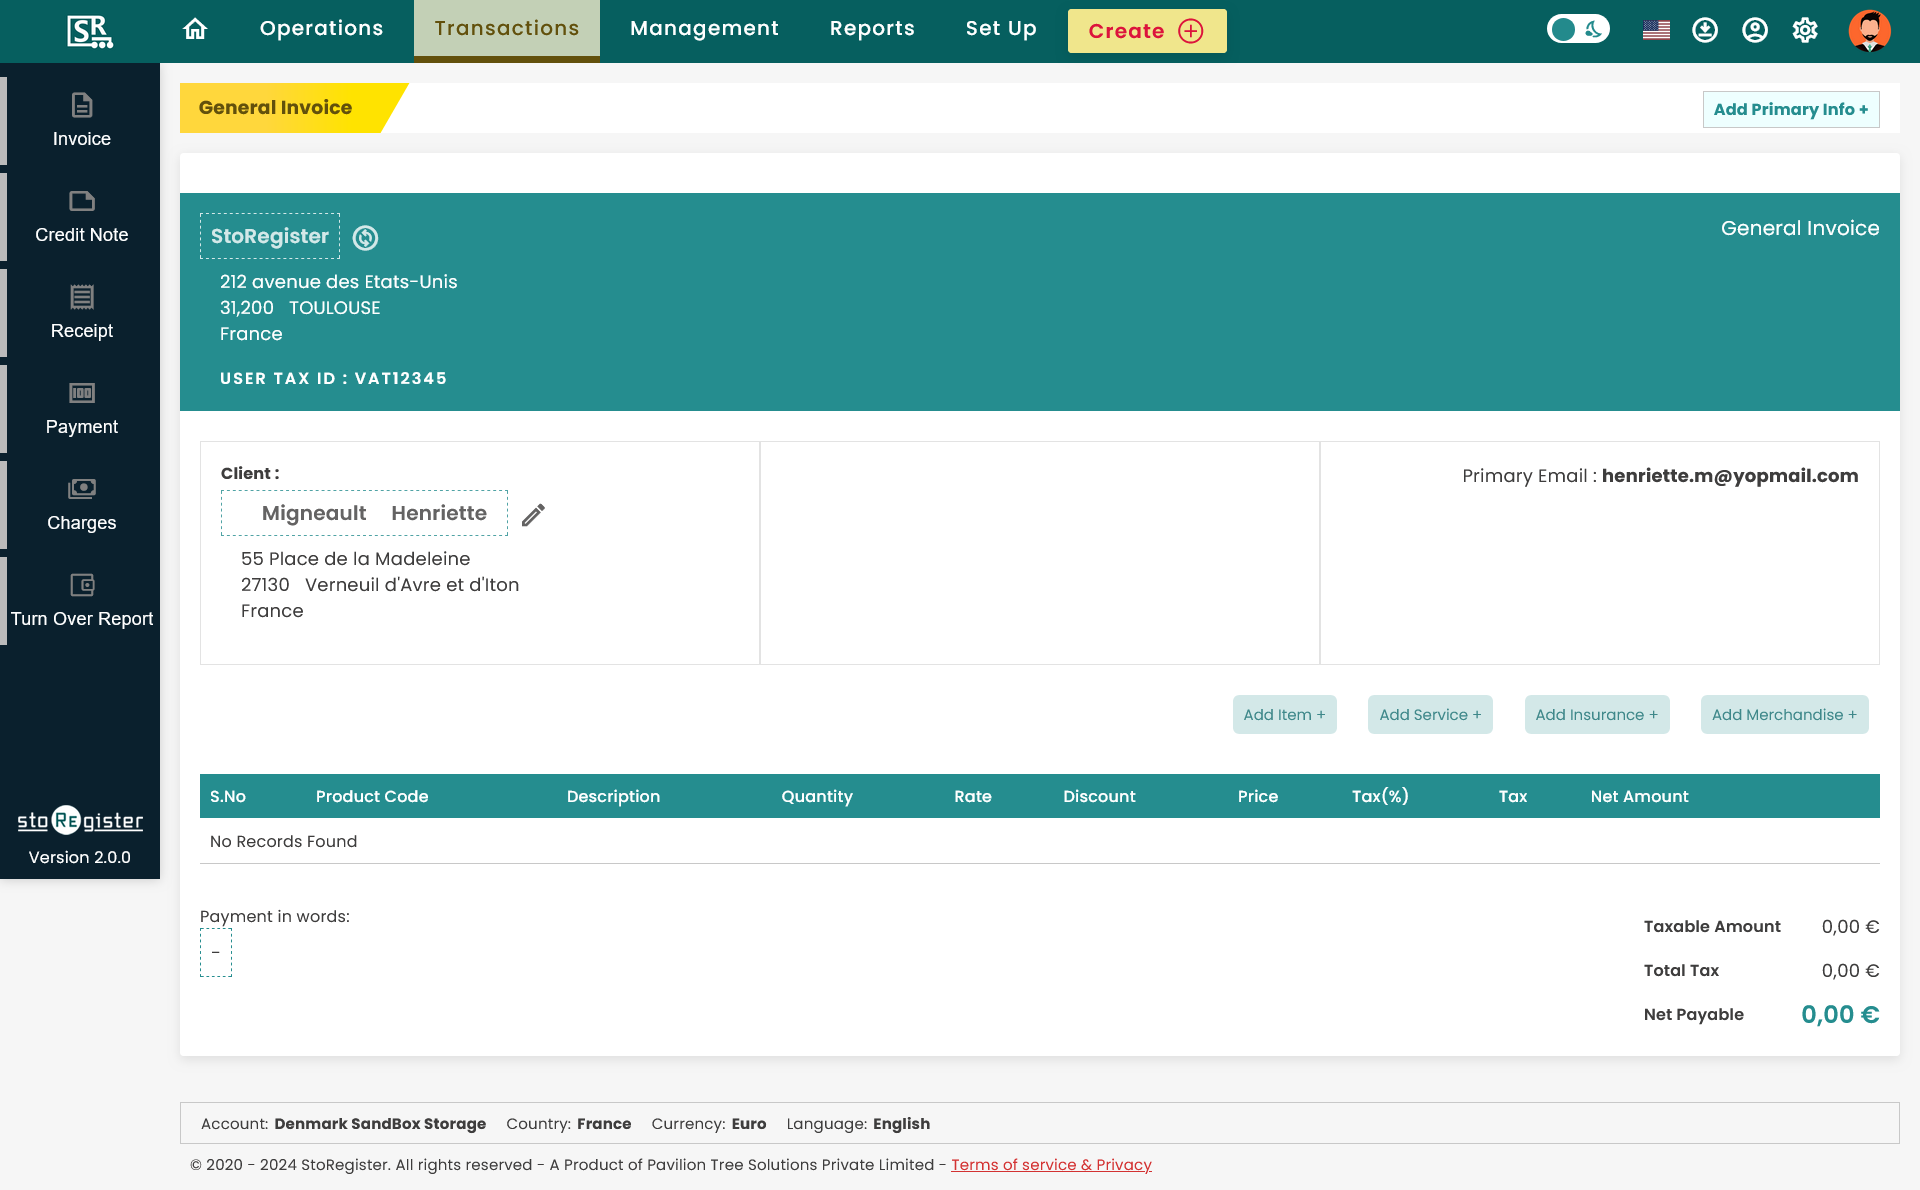
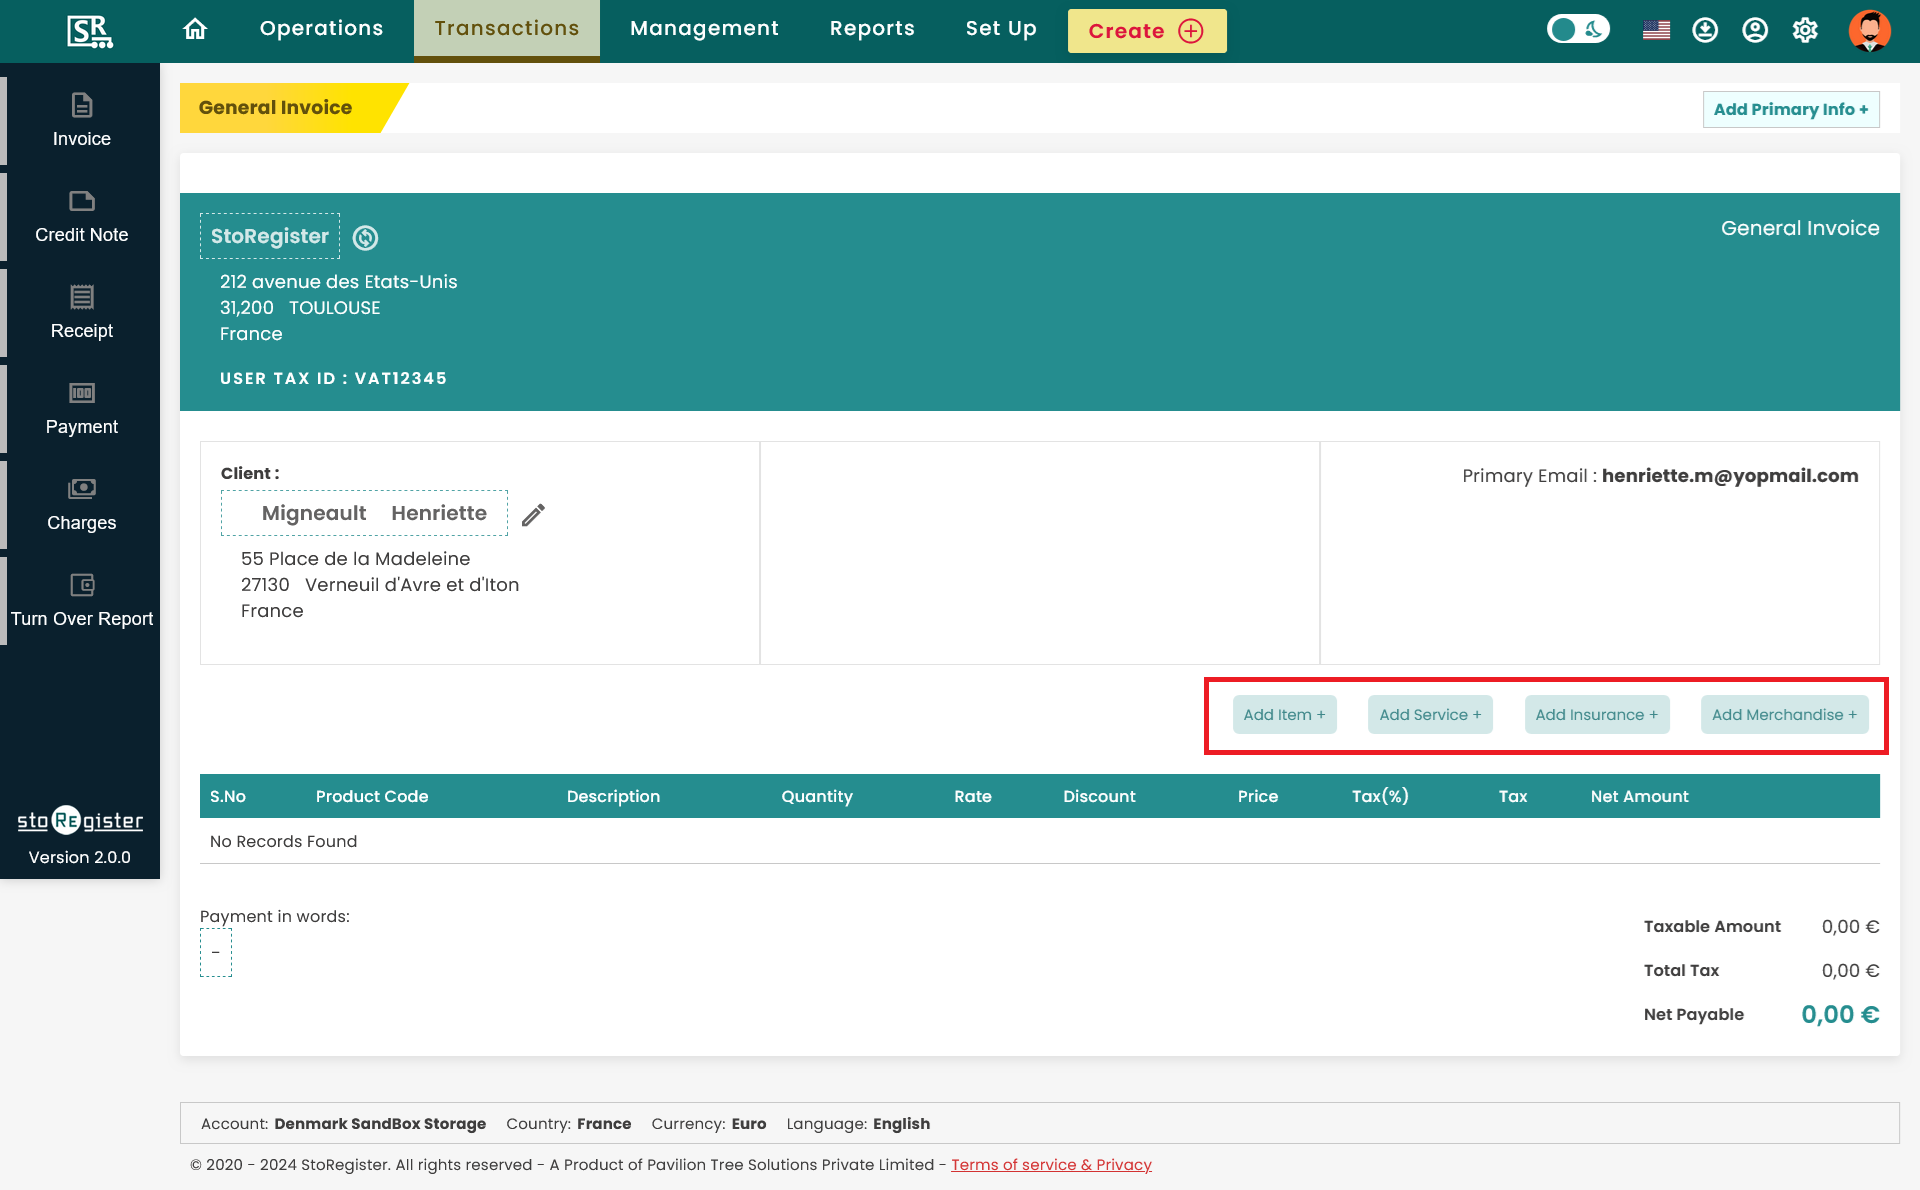
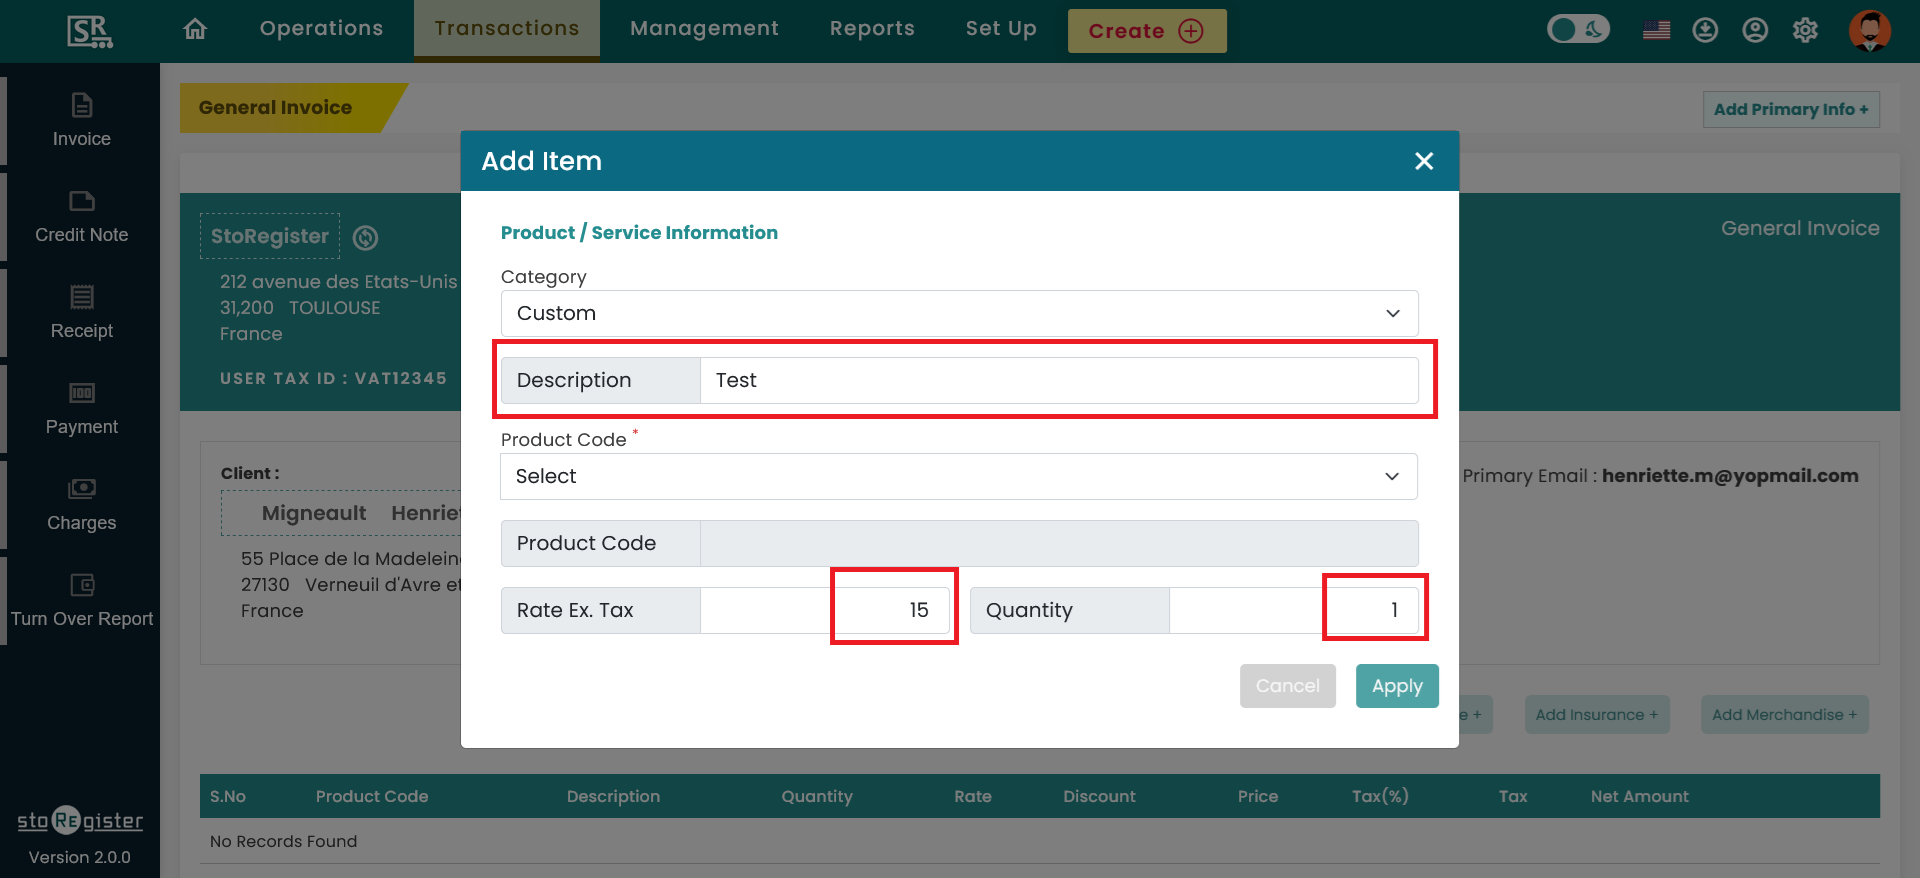
Adding Line Items to the Invoice:
- Add Line Item: Click on "Add Item, Add Service, Add Insurance or Add Merchandise" to open a pop-up window.
- Enter Item Details: In the pop-up window, provide the following details:
- Description: Enter a description of the item or service being invoiced.
- Category: (Optional) Select a category from the dropdown menu.
- Amount: Enter the amount for the item or service.
- Quantity: Specify the quantity of the item or service.
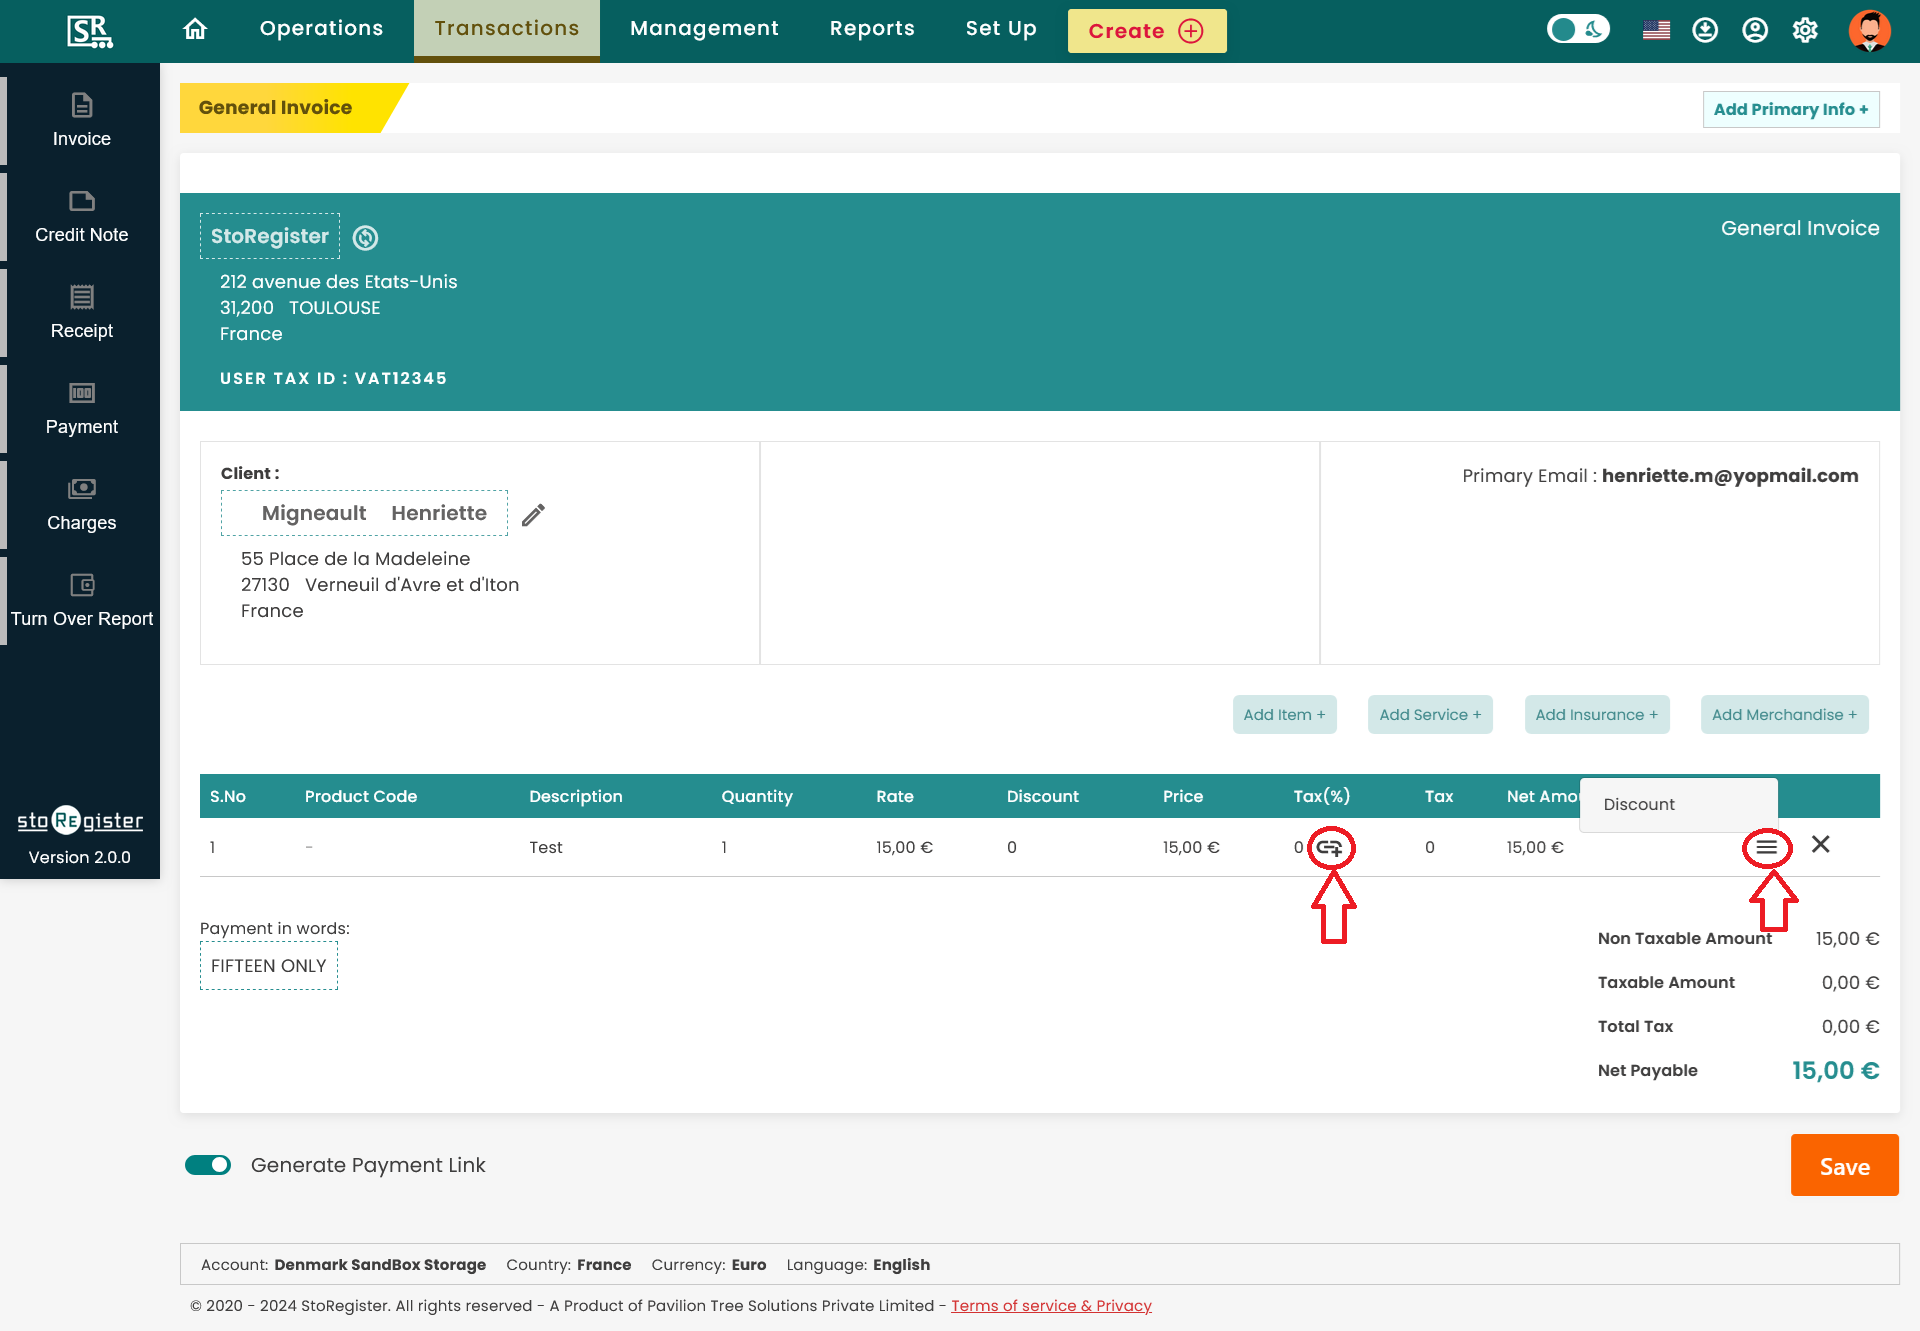
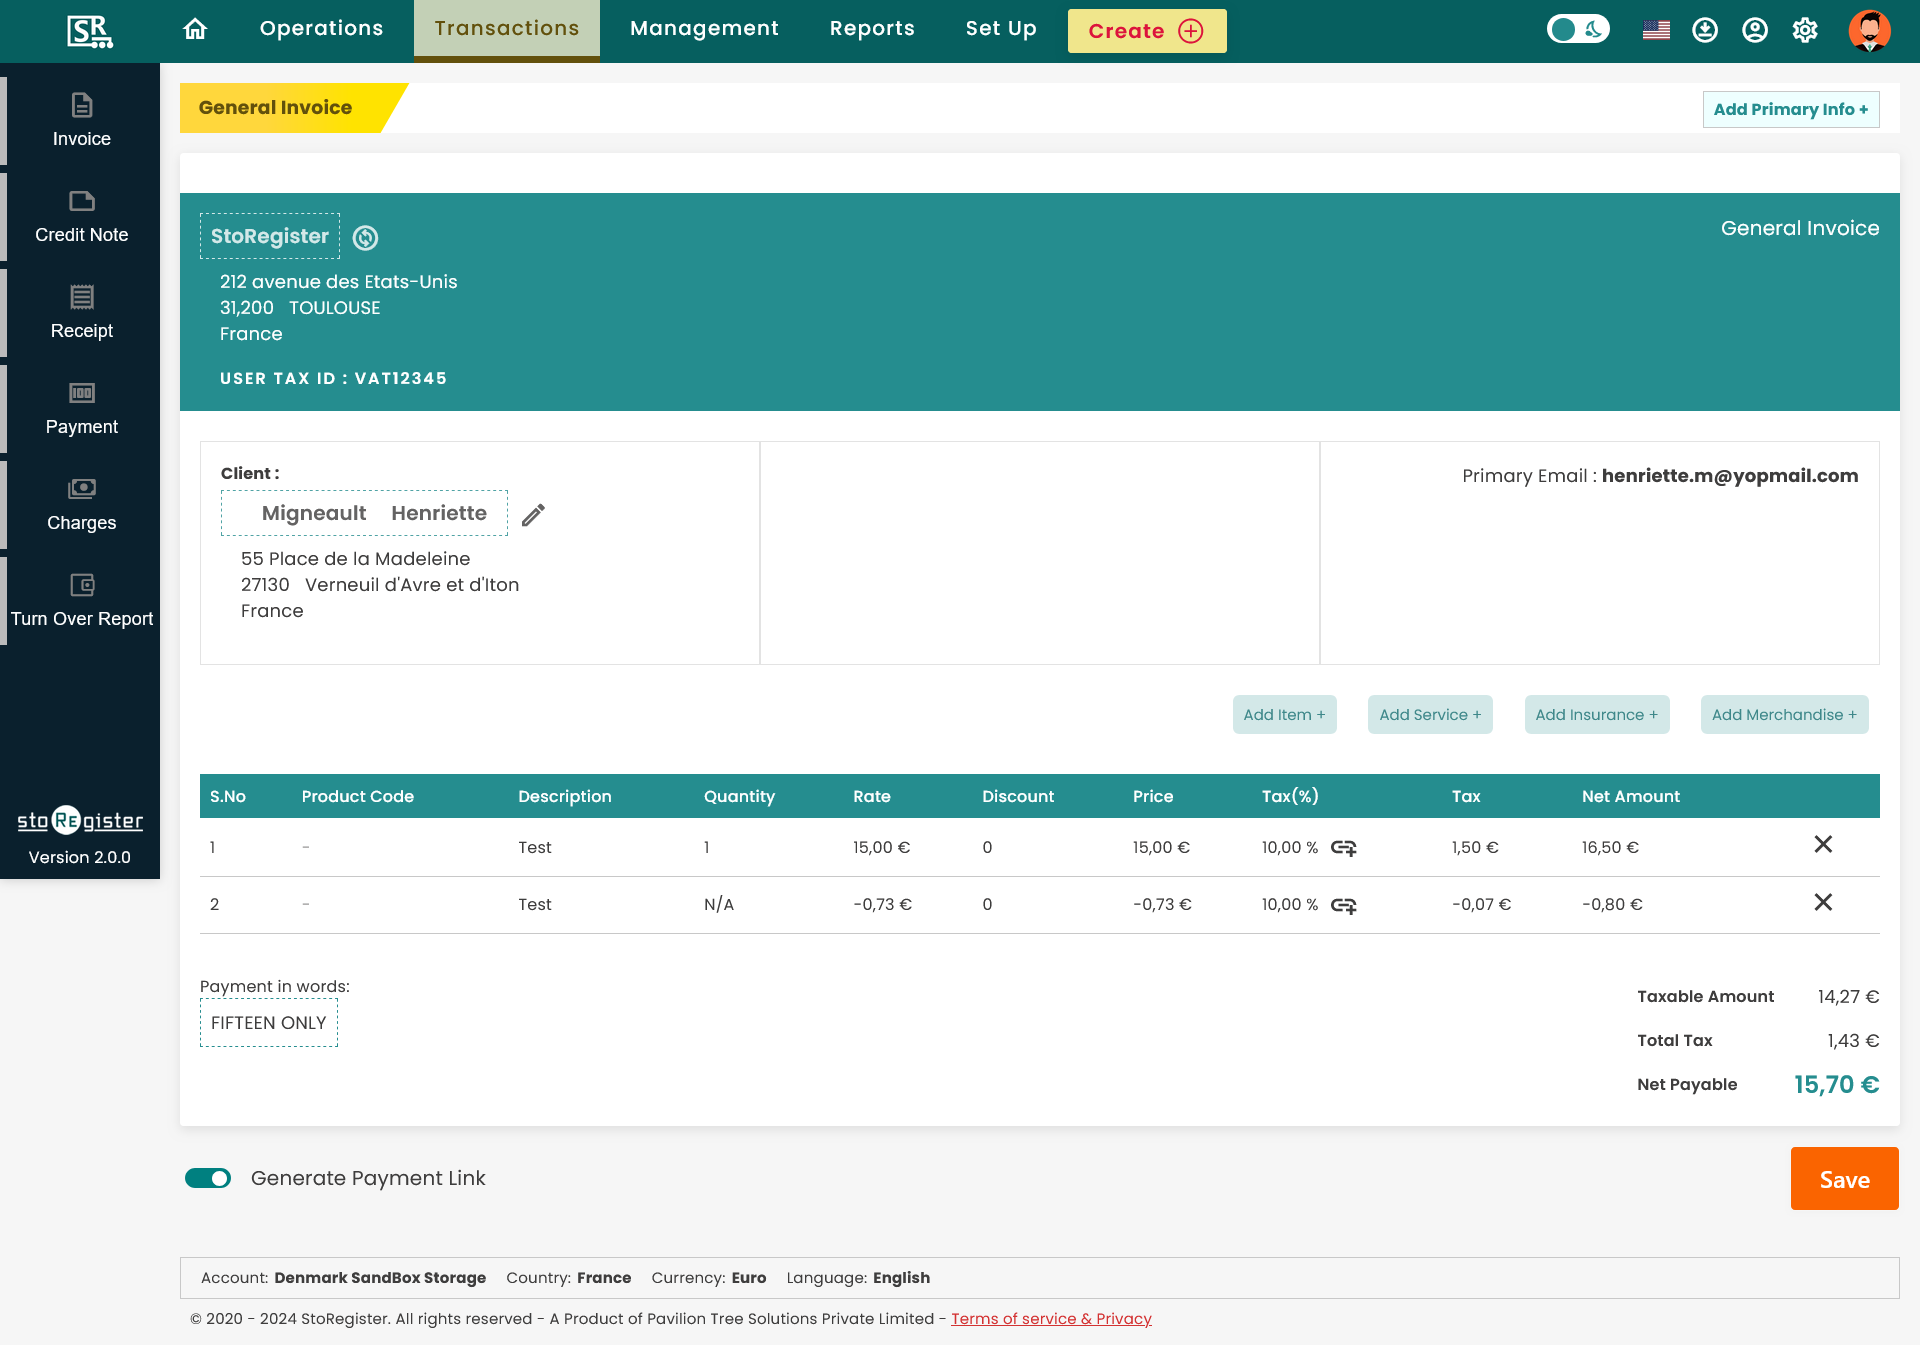
Link Tax and Discount:
- If applicable, link the relevant tax and discount to the line item.
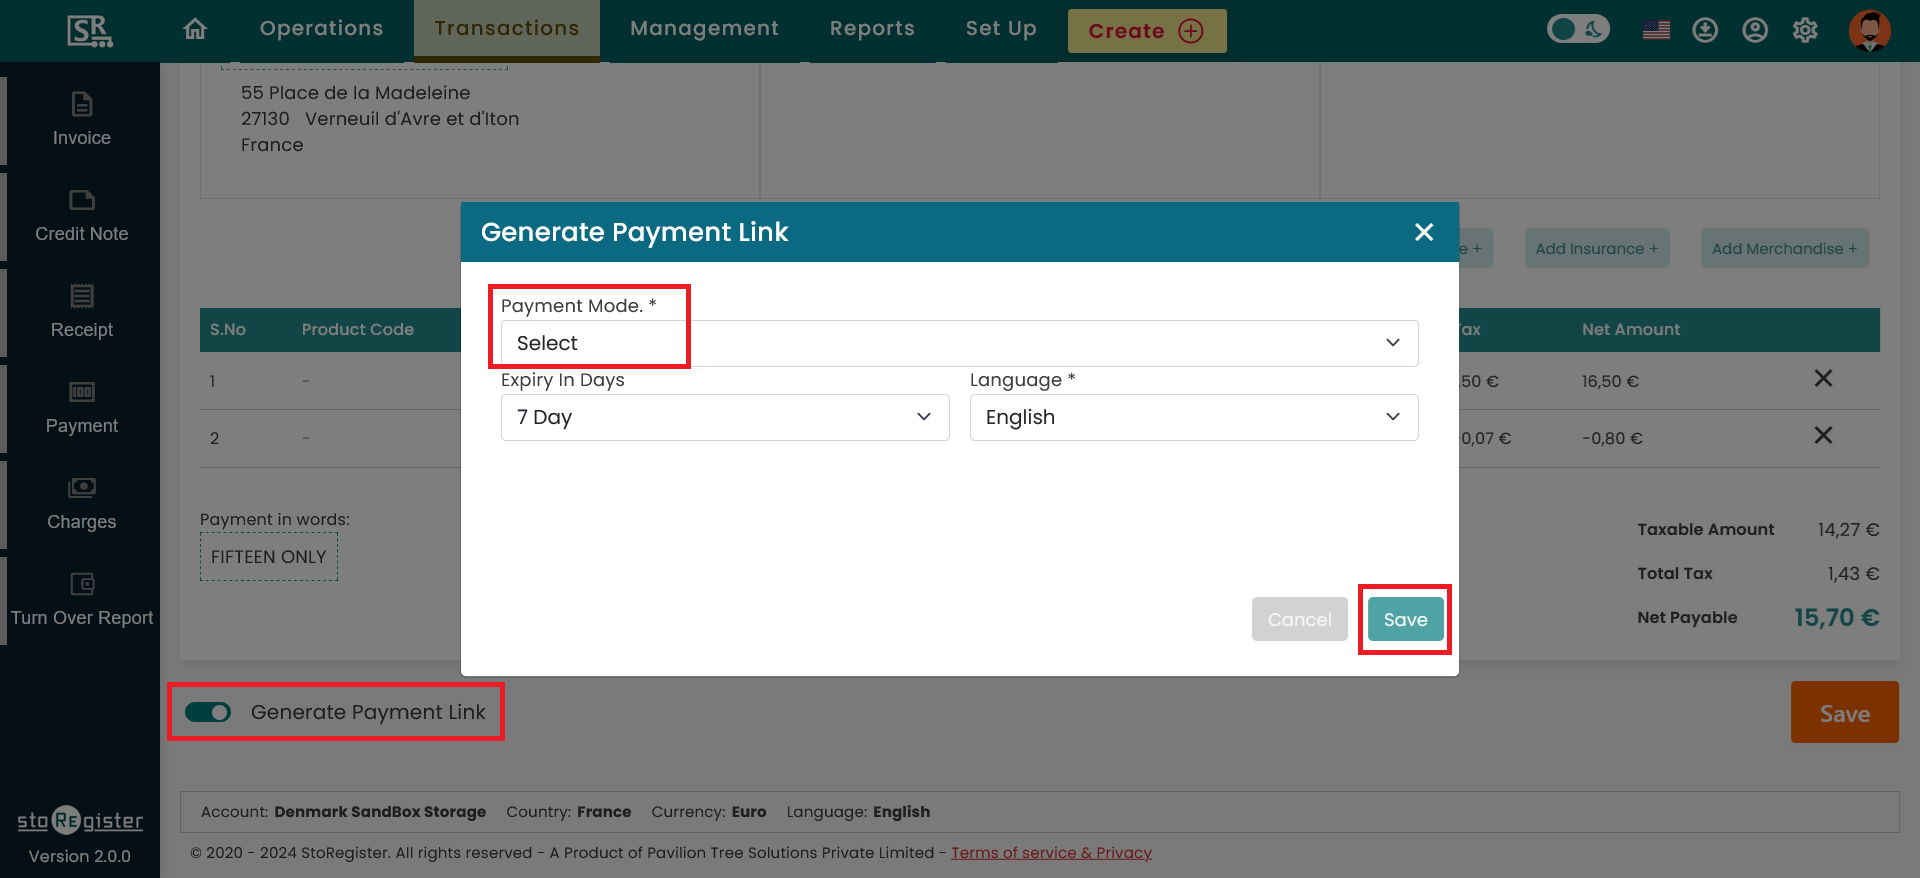
Generating Payment Link:
- Enable or Disable Payment Link:
- You have the option to enable the "Generate Payment Link" feature if you want to send a payment link via email for the customer to complete the payment online.
- If the customer prefers to make an offline payment, disable this option.
- Complete the Invoice:
- Once all line items have been added and payment options set, click on save to generate the invoice and an email will be sent to the specific contact's email address with invoice as an attachment along with payment link if included.
By following these steps, you can efficiently generate a custom invoice tailored to your customer's needs.
Related Articles
How to Generate a Custom Credit Note?
The Custom Credit Note feature allows users to generate a credit note for any customer, regardless of whether they have an active contract. Method 1: From Contact Listing or Specific Contact Detail Page: Begin by navigating to the Contact Listing or ...How to Generate the Next Invoice for a Contract?
Follow these steps to generate the next invoice for a specific contract. This process includes options to customize the invoice duration, prorate settings, and email notifications. Step 1: Access the Contract Detail Page: Navigate to the Contract ...How to generate payment link for unpaid invoice?
Generating a payment link for your customers to pay unpaid invoices can be done in three different ways. Method 1: Generate a Consolidated Payment Link for Multiple Unpaid Invoices: Navigate to the Contract Detail Page: Go to the Contract Detail Page ...How to Cancel an Invoice?
Invoices can be cancelled by generating a credit note. You can either cancel an entire invoice or cancel a specific line item from the invoice by creating a credit note. To Cancel the Full Invoice: Navigate to the Invoice Detail Page: Go to the ...How to Generate an Offline Receipt?
Generating an offline receipt allows you to record and acknowledge payments made by customers outside of the online payment gateway. Here's how to generate an offline receipt for a specific invoice: Steps to Generate an Offline Receipt: Navigate to ...